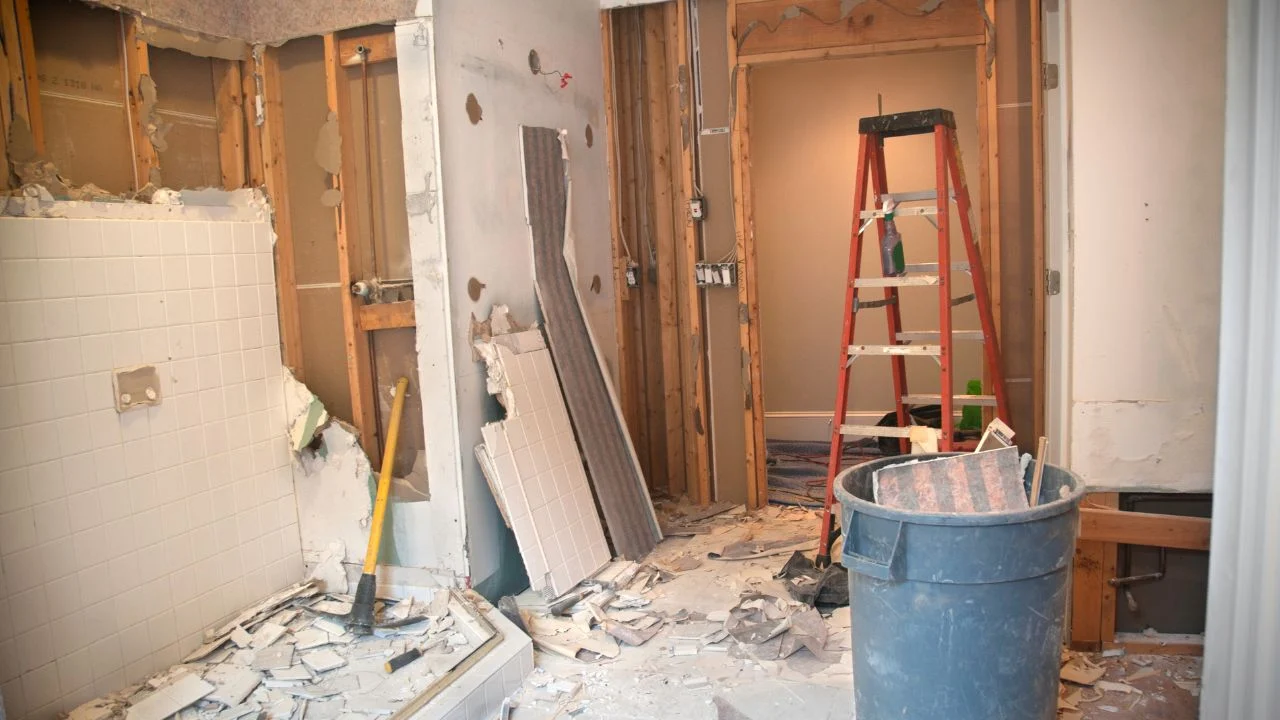
There is something incredibly satisfying about taking a sledgehammer to an outdated drywall partition or ripping up old, stained carpeting. DIY demolition is an excellent way for Utah County homeowners to save money on remodeling costs while getting a bit of a workout. Whether you are prepping a kitchen remodel in American Fork or tearing down an old backyard shed in Mapleton, doing the teardown yourself can keep your budget intact.
However, demolition is more than just swinging a hammer. Without the right preparation, a fun DIY project can quickly transform into a costly mistake or a safety hazard. To help you navigate your next home improvement project safely, here are our top DIY demolition tips to keep your project on track.
Safety First: Gear Up and Shut Down
Before you strike the first blow, safety must be your absolute priority. Real-life demolition sites are full of hidden dangers, including flying debris, sharp nails, and hazardous dust.
Wear the Right PPE: Never start a demolition project without heavy-duty work gloves, safety goggles, a dust mask (or respirator for older homes), and sturdy, steel-toed boots.
Locate and Shut Off Utilities: This is the most critical step. If you are tearing down walls or remodeling a bathroom, ensure that the electricity, gas, and water lines to that area are completely turned off. Striking a live wire or punctures a water pipe can cause catastrophic damage to your home and severe injury to yourself.
If your home was built before 1978, be cautious of materials that might contain lead paint or asbestos. You can review safety guidelines on the official Environmental Protection Agency (EPA) website to understand how to handle older building materials safely.
Work Smarter, Not Harder
Demolition is a strategic process, not a reckless free-for-all. To minimize damage to surrounding structures that you plan to keep, you need to work systematically.
Start from the top and work your way down. If you are removing a wall, remove the drywall in small, manageable chunks before tackling the wood studs. Use a pry bar instead of a hammer when working near door frames or windows that you want to preserve. Having the correct tools, such as a reciprocating saw, a heavy pry bar, and a reliable utility knife, will save your muscles and prevent unnecessary damage to your home’s structural integrity.
Manage the Debris as You Go
One of the most overlooked aspects of DIY demolition is where all the waste is going to go. A single ripped-out bathroom can generate hundreds of pounds of heavy drywall, tile, porcelain, and wood. Letting debris pile up in your work area creates serious tripping hazards and slows down your progress.
To keep your workspace clear and safe, you need an on-site waste disposal solution. Home Team Haulers provides the perfect setup for residential DIY projects across Utah County.
For smaller bathroom or kitchen tearouts, our 10-yard and 15-yard dump trailers sit on rubber tires, protecting your driveway while offering easy access. If you are taking on a larger project, like a full house gut or a garage demolition in Provo, our 15-yard and 20-yard roll-off dumpsters can handle the heaviest construction waste with ease. Check out our full range of disposal solutions on our Services Page.
Let Home Team Haulers Handle the Cleanup
Do not let construction waste stall your home renovation dreams. By planning ahead, staying safe, and organizing your debris disposal, you can execute a flawless DIY demolition.
When the dust settles, you do not want to be stuck figuring out how to transport heavy waste to the dump. Let Home Team Haulers drop off the perfect container for your project site. Once you fill it up, we will haul it away, leaving you ready for the fun part: building something new. Ready to get started? Drop us a line on our Contact Page to reserve your dumpster today!